

solar panel installation diagram pdf
Download your free solar panel installation diagram PDF! Step-by-step UK guide for home setups. Save on energy bills now.
A solar panel installation diagram provides a visual guide for setting up photovoltaic systems, ensuring safety, efficiency, and compliance with electrical standards. It simplifies the process for DIY enthusiasts and professionals, outlining component connections and best practices to optimize energy production and system reliability.
1.1 What is a Solar Panel Installation Diagram?
A solar panel installation diagram is a detailed visual guide that illustrates the components and connections required for a photovoltaic system. It provides a clear layout of solar panels, inverters, mounting structures, wiring, and other essential elements. This diagram serves as a blueprint for installers, helping them understand how to connect and configure the system safely and efficiently. By outlining the flow of electricity from panels to the battery bank and inverter, it ensures proper energy distribution and compliance with electrical standards. The diagram is particularly useful for DIY enthusiasts and professionals alike, offering a step-by-step reference for planning and executing installations. It also highlights safety precautions and best practices, making it an indispensable tool for achieving a reliable and efficient solar power setup.
1.2 Importance of Using a Diagram for Installation
Using a solar panel installation diagram is crucial for ensuring a safe, efficient, and compliant setup. It provides a clear visual representation of the system, guiding installers through each step to avoid electrical hazards and connection errors. The diagram helps in planning the layout, optimizing energy production, and meeting safety standards. It also serves as a troubleshooting tool, identifying potential issues before they escalate. By following the diagram, installers can ensure all components are correctly configured, reducing the risk of system failures. This visual guide is essential for both professionals and DIY enthusiasts, promoting a smooth and successful installation process while maximizing the system’s performance and longevity.
Key Components of a Solar Panel System
A solar panel system consists of essential components like solar panels, inverters, mounting structures, charge controllers, and battery banks. Each plays a vital role in energy generation, conversion, storage, and distribution, ensuring efficient and reliable power supply.
2.1 Solar Panels: Types and Specifications
Solar panels are the cornerstone of a photovoltaic system, converting sunlight into electricity. They come in types such as monocrystalline, polycrystalline, and thin-film, each offering varying levels of efficiency and cost. Monocrystalline panels are highly efficient, making them ideal for spaces with limited area, while polycrystalline panels are more affordable and suitable for larger installations. Thin-film panels are flexible and lightweight, often used in specialized applications. Specifications include power rating (measured in watts), voltage, and size, which vary depending on the panel type. For instance, a 250W panel is common for residential use. Used panels, such as those from Santan Solar, can be a cost-effective option. When selecting panels, factors like temperature coefficient, durability, and warranty should be considered to ensure optimal performance and longevity. Proper sizing and selection are critical to meet energy demands efficiently.
2.2 Inverter: Function and Selection Criteria
The inverter is a critical component in a solar panel system, responsible for converting direct current (DC) power generated by solar panels into alternating current (AC) power, which is usable for household appliances and the grid. Selecting the right inverter involves evaluating its efficiency, compatibility with the solar panel system, and suitability for the system’s size and type—whether it’s grid-tied, off-grid, or hybrid. High-efficiency inverters minimize energy losses, while advanced features like maximum power point tracking (MPPT) optimize energy production. Key criteria include power rating, voltage range, and certifications ensuring safety and reliability. Brands like Growatts offer cost-effective solutions, particularly for grid connections. Additionally, warranty duration and customer support are essential considerations. Proper inverter selection ensures seamless energy conversion, maximizes system performance, and guarantees long-term reliability, making it a vital decision in solar panel installation.
2.3 Mounting Structures: Types and Installation Tips
Mouting structures are essential for securing solar panels in optimal positions to maximize energy production. Common types include fixed-tilt mounts, adjustable-tilt mounts, and solar tracking systems. Fixed-tilt mounts are the most cost-effective and suitable for roofs with consistent angles. Adjustable-tilt mounts allow seasonal modifications for better energy capture, while tracking systems dynamically follow the sun’s movement for higher efficiency. When installing, ensure the roof is in good condition and free from shading, as shadows significantly reduce energy output. Use durable materials and follow local building codes to ensure structural integrity. Proper alignment and leveling are crucial to prevent panel damage and optimize performance. Securing the mounting system firmly prevents wind damage and ensures long-term stability. Regular inspections and maintenance are recommended to address any wear or misalignment. Proper installation of mounting structures is vital for the overall efficiency and longevity of the solar panel system.
2.4 Charge Controller: Role and Configuration
The charge controller plays a crucial role in regulating the energy flow between solar panels, battery banks, and electrical loads. Its primary function is to prevent overcharging or undercharging of batteries, ensuring optimal energy storage and system longevity. There are two main types: Pulse Width Modulation (PWM) and Maximum Power Point Tracking (MPPT). PWM controllers are cost-effective and suitable for smaller systems, while MPPT controllers offer higher efficiency, especially in varying light conditions. Proper configuration involves setting voltage and current limits, selecting the correct charge algorithm, and ensuring compatibility with battery types. Overcharging can lead to premature battery degradation, while undercharging reduces system performance. Regular monitoring of charge controller settings is essential to maintain efficiency and safety. Correct installation and configuration are vital for balancing energy storage and consumption, ensuring a reliable solar power supply. Always refer to the manufacturer’s guidelines for specific setup instructions.
2.5 Battery Bank: Sizing and Safety Precautions
The battery bank is a critical component of a solar panel system, storing excess energy for use during periods of low sunlight or at night. Proper sizing ensures the system meets energy demands, while safety precautions prevent hazards like explosions or fires. To size the battery bank, calculate the total energy requirements of the household and determine the desired backup time. Deep-cycle batteries are ideal for solar systems due to their ability to handle repeated charging and discharging. Safety measures include installing batteries in a well-ventilated area, using protective gear, and ensuring proper wiring to avoid short circuits. Regular maintenance, such as checking terminal connections and electrolyte levels, is essential to extend battery life. Always follow the manufacturer’s guidelines for battery configuration and charging parameters to ensure safe and efficient operation. Improper sizing or installation can lead to system inefficiency or safety risks, making professional consultation advisable for complex setups.
Solar Panel Installation Process
The solar panel installation process involves assessing the site, preparing tools, mounting panels, connecting components, testing the system, and ensuring compliance with safety guidelines for optimal energy generation.
3.1 Assessing the Site for Solar Panel Installation
Assessing the site is crucial for a successful solar panel installation. Begin by evaluating the roof’s condition, ensuring it is structurally sound and free from shading. Measure sunlight exposure, ideally south-facing in the northern hemisphere, to maximize energy production. Check for any obstructions like trees or neighboring buildings that could block sunlight. Additionally, consider local building codes and regulations. Use a solar pathfinder or sunlight analysis tools to determine the best angle and orientation for the panels. It’s also important to assess electrical needs, such as energy consumption patterns, to size the system correctly. Finally, verify the availability of necessary permits and ensure compliance with safety standards to avoid installation issues later. Proper site assessment ensures the system operates efficiently and meets all requirements for optimal performance and safety.
3.2 Preparing the Site and Tools Needed
Preparing the site and gathering the necessary tools is essential before starting the solar panel installation. Begin by clearing the installation area of debris and obstructions. Ensure the roof is clean and structurally sound to support the weight of the panels. Measure and mark the installation area according to the solar panel installation diagram. Gather tools such as drills, screwdrivers, wrenches, and safety gear like gloves and a harness; Ensure all electrical components, including inverters and mounting hardware, are readily available. Check local building codes and obtain any required permits. Additionally, prepare a ladder or lift for roof access and ensure proper ventilation to avoid overheating during installation. Finally, review the installation manual and diagram to familiarize yourself with the process and verify all components are accounted for. Proper preparation ensures a smooth and efficient installation process.
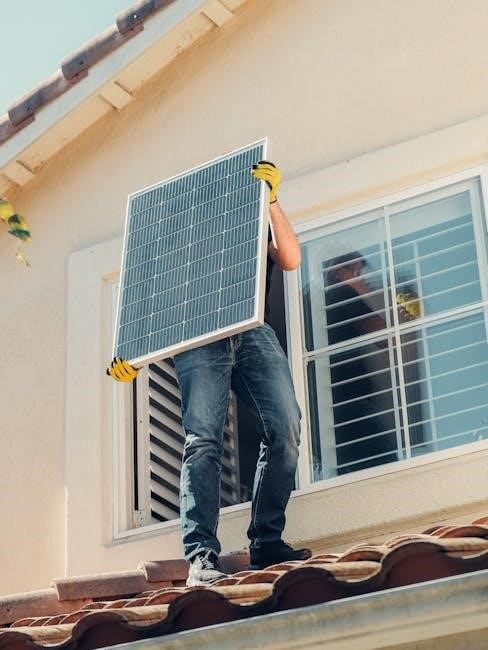
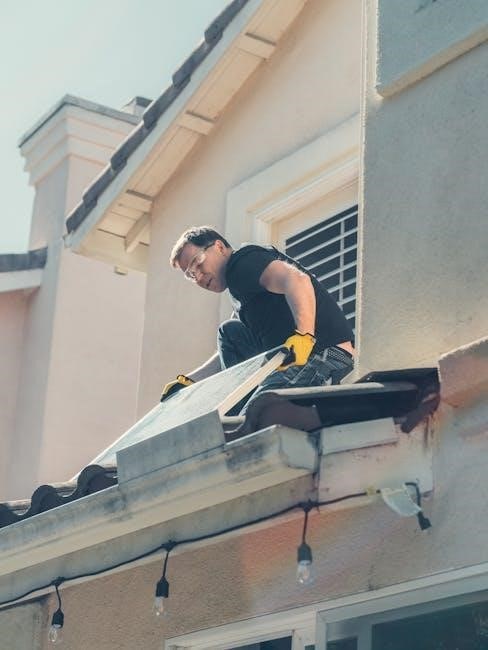
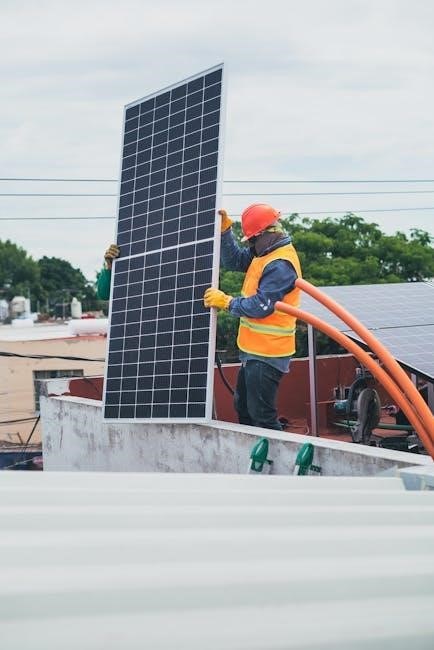
3.3 Mounting the Solar Panels on the Roof
MOUNTING SOLAR PANELS ON THE ROOF REQUIRES CAREFUL PLANNING AND EXECUTION. Begin by positioning the mounting brackets according to the solar panel installation diagram, ensuring they are level and securely fastened to the roof rafters. Use a stud finder to locate the rafters and mark their positions. Drill pilot holes and anchor the brackets with lag bolts for durability. Once the brackets are in place, carefully lift the solar panels onto the roof and align them with the mounting hardware. Secure the panels using clamps or bolts, making sure they are tightly fastened to prevent movement. Consider the orientation and angle of the panels to maximize sunlight exposure, typically between 30 to 45 degrees for optimal efficiency. Finally, double-check all connections and ensure the panels are evenly spaced for proper airflow and energy production. Proper mounting ensures stability and maximizes energy output.
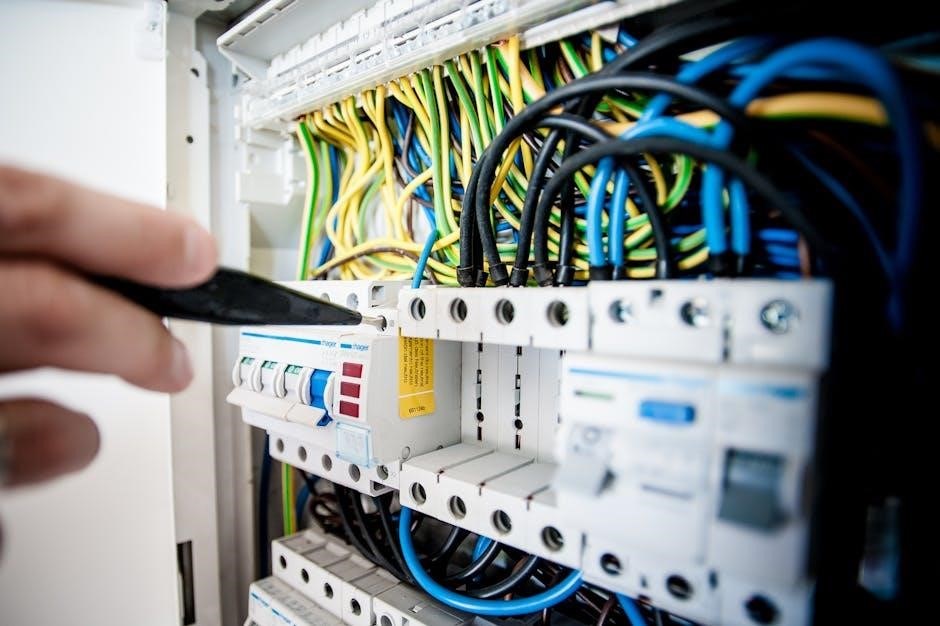
3.4 Connecting Electrical Components
CONNECTING ELECTRICAL COMPONENTS IS A CRITICAL STEP IN SOLAR PANEL INSTALLATION. Begin by following the solar panel installation diagram to ensure correct wiring. Connect the solar panels to the charge controller, which regulates the flow of energy to the battery bank. Use appropriately sized wires to minimize energy loss and prevent overheating. Next, link the charge controller to the battery bank, ensuring polarity is maintained to avoid damage. Finally, connect the battery bank to the inverter, which converts stored energy into usable household electricity. Secure all connections tightly and double-check for short circuits or loose wires. Proper grounding of the system is essential for safety. Refer to the installation diagram for specific wiring configurations and follow all safety guidelines to ensure a reliable and efficient solar panel system. This step requires attention to detail to prevent electrical hazards and optimize energy production.
3.5 Testing the Solar Panel System
Testing the solar panel system is essential to ensure it operates efficiently and safely. Begin by using a multimeter to measure voltage, current, and power output at various points, such as the solar panels, charge controller, and inverter. Verify that the readings match the specifications outlined in the installation diagram. Check the system’s performance under different conditions, like sunlight and shading, to identify potential issues. Ensure all electrical connections are secure and functioning correctly. Test the inverter’s output to confirm it provides the correct voltage and frequency for your appliances. Refer to the installation diagram to validate the system’s configuration and performance. Conduct a safety inspection to ensure proper grounding and no signs of overheating or damage. Regular testing helps maintain reliability and identifies faults early, ensuring optimal energy production and longevity of the system. This step is crucial for verifying the system’s functionality and safety before full operation. Always follow safety protocols during testing.
3.6 Maintenance and Troubleshooting
Regular maintenance is crucial to ensure the solar panel system operates efficiently and lasts longer. Start by cleaning the panels periodically to remove dirt, debris, or snow, which can reduce energy production. Inspect the mounting structures for stability and ensure no shading issues arise. Check all electrical connections for tightness and signs of wear. Use monitoring tools to track system performance and identify discrepancies. For troubleshooting, begin by reviewing the installation diagram to understand component relationships. Common issues include low power output, which may indicate faulty inverters, charge controllers, or panel damage. Check the inverter’s status lights or display for error codes and refer to the user manual for solutions. If issues persist, consult a professional technician to diagnose and repair complex problems. Regular inspections and timely repairs can prevent system downtime and maintain optimal energy generation. Proper maintenance ensures long-term reliability and efficiency of the solar panel system. Always follow safety guidelines during inspections and repairs.