

solar charge controller manual
Discover how to efficiently manage your solar power system with our comprehensive guide. Learn installation, setup, and troubleshooting tips for optimal performance.
A solar charge controller is an essential electronic device that regulates current and voltage from solar panels to batteries‚ ensuring safe and efficient charging. It protects batteries from overcharging and undercharging‚ extending their lifespan. Modern controllers‚ like MPPT‚ optimize energy harvest by tracking the maximum power point of solar panels‚ making them a critical component in off-grid and hybrid solar systems. Always refer to the manual for specific settings and configuration guidelines to maximize performance and safety.
What is a Solar Charge Controller?
A solar charge controller is an electronic device that regulates the flow of energy from solar panels to batteries. It ensures that batteries are charged safely and efficiently‚ preventing overcharging and undercharging. This device acts as a critical intermediary‚ protecting both the panels and batteries while optimizing energy storage. Solar charge controllers are available in two main types: PWM (Pulse Width Modulation) and MPPT (Maximum Power Point Tracking). MPPT controllers are more advanced‚ as they continuously track the solar panel’s maximum power point to extract the highest possible energy‚ especially under varying conditions. Proper use of a solar charge controller is essential for maintaining the health and longevity of your solar system.
Why is a Solar Charge Controller Important?
A solar charge controller is essential for maintaining the health and efficiency of your solar power system. It prevents overcharging and undercharging of batteries‚ which can significantly shorten their lifespan. By regulating the flow of energy from solar panels to batteries‚ it ensures safe and efficient charging. This device also protects the system from voltage spikes and reverse current flow‚ which can damage components. Proper use of a solar charge controller maximizes energy storage‚ reduces energy loss‚ and ensures the system operates safely under various conditions. It is a critical component for reliable and long-lasting solar energy production.

Types of Solar Charge Controllers
Solar charge controllers are categorized into PWM and MPPT types. PWM is cost-effective and suitable for small systems‚ while MPPT offers higher efficiency and better performance in varying conditions.
PWM (Pulse Width Modulation) Charge Controllers
PWM charge controllers are cost-effective and widely used for small to medium solar systems. They regulate battery charging by rapidly switching the connection between solar panels and batteries. This method ensures the battery is charged without overcharging‚ protecting it from damage. PWM controllers are simple to install and suitable for systems where panel voltage closely matches battery voltage. They are ideal for basic setups but less efficient compared to MPPT controllers‚ especially in low-light conditions. Always refer to the manual for specific voltage and current ratings to ensure compatibility with your solar array and battery bank.
MPPT (Maximum Power Point Tracking) Charge Controllers
MPPT charge controllers are advanced devices that optimize energy extraction from solar panels by continuously tracking the panel’s maximum power point. They efficiently convert excess voltage into current‚ delivering up to 30% more energy compared to PWM controllers. MPPT controllers are ideal for larger systems or those with higher voltage panels‚ ensuring maximum power utilization‚ especially in varying light conditions. They often feature adjustable settings and monitoring capabilities‚ making them suitable for complex solar setups. Always consult the manual for voltage and current limits to ensure compatibility with your system components and achieve optimal performance.
Key Differences Between PWM and MPPT
PWM (Pulse Width Modulation) and MPPT (Maximum Power Point Tracking) charge controllers differ in how they manage solar panel output. PWM controllers are simpler and less expensive‚ using a basic method to regulate battery charging by rapidly switching the connection on and off. MPPT controllers‚ on the other hand‚ are more advanced‚ dynamically adjusting to track the solar panel’s maximum power point‚ optimizing energy extraction. MPPT controllers are up to 30% more efficient‚ especially in low-light conditions‚ making them ideal for larger or higher-voltage systems. PWM controllers are suitable for smaller‚ basic setups. Always choose based on system size and efficiency needs for optimal performance.
How to Choose the Right Solar Charge Controller
Selecting the right solar charge controller involves understanding your system’s voltage and current needs‚ choosing between MPPT or PWM based on efficiency requirements‚ and ensuring compatibility with your solar panels and batteries for optimal performance and safety.
Determining Voltage and Current Requirements
To determine voltage and current requirements‚ assess your solar panel array’s specifications and battery bank configuration. Most systems operate at 12V‚ 24V‚ or 48V. Calculate the maximum current by dividing the panel’s wattage by voltage (e.g.‚ 300W ÷ 12V = 25A). Ensure the charge controller’s voltage rating matches your battery bank to prevent overvoltage. Current capacity should handle peak solar input. For example‚ a 50A controller at 12V manages 600W. Always refer to the manual to confirm compatibility and avoid exceeding limits‚ ensuring safe and efficient charging. Proper sizing prevents overheating and extends system lifespan.
Understanding MPPT vs. PWM for Your Needs
MPPT (Maximum Power Point Tracking) and PWM (Pulse Width Modulation) are two technologies used in solar charge controllers; MPPT controllers are more efficient‚ especially for higher voltage panels‚ as they optimize energy harvest by continuously tracking the panel’s maximum power point. PWM controllers are simpler and less expensive‚ suitable for smaller systems with lower voltage requirements. MPPT is ideal for systems where panel voltage significantly exceeds battery voltage‚ while PWM works well for basic‚ low-power setups. Choose MPPT for maximum efficiency and flexibility‚ especially in variable conditions‚ while PWM suffices for straightforward‚ cost-sensitive applications. Both ensure safe charging but cater to different performance and budget needs.
Calculating Maximum Power Point Tracking (MPPT)
Maximum Power Point Tracking (MPPT) calculation involves determining the optimal voltage and current from solar panels to maximize energy transfer to the battery. The formula is based on the panel’s maximum power point‚ calculated as Watts = Volts × Amps. MPPT controllers adjust to this point dynamically‚ ensuring the system operates efficiently. For example‚ if panels have a Voc (open-circuit voltage) of 80V and Isc (short-circuit current) of 60A‚ the maximum power point can be estimated. This calculation helps in selecting the correct controller size and ensures optimal energy harvesting. Higher voltage panels typically benefit more from MPPT technology‚ which can significantly increase system efficiency and energy yield.

Installation and Setup Guide
Mount the controller in a well-ventilated area‚ connect solar panels and batteries according to manual instructions‚ and configure settings for optimal performance. Ensure all connections are secure and follow safety guidelines to avoid damage. Testing the system before full operation is recommended to ensure proper functionality and efficiency. Always refer to the manual for specific configuration details tailored to your system’s requirements. Proper installation ensures longevity and reliable energy management.
Mounting the Solar Charge Controller
Proper mounting of the solar charge controller is essential for both functionality and longevity. Choose a well-ventilated‚ shaded area to prevent overheating. Avoid direct sunlight exposure‚ as it can increase temperature and reduce efficiency. Use screws or brackets to securely fasten the controller to a flat surface. Ensure the controller is easily accessible for monitoring and maintenance. Keep it away from flammable materials and moisture. If installing outdoors‚ consider using a protective enclosure. Always follow the manual’s guidelines for mounting to ensure safety and optimal performance. Proper installation helps maintain efficiency‚ reliability‚ and extends the lifespan of the controller.
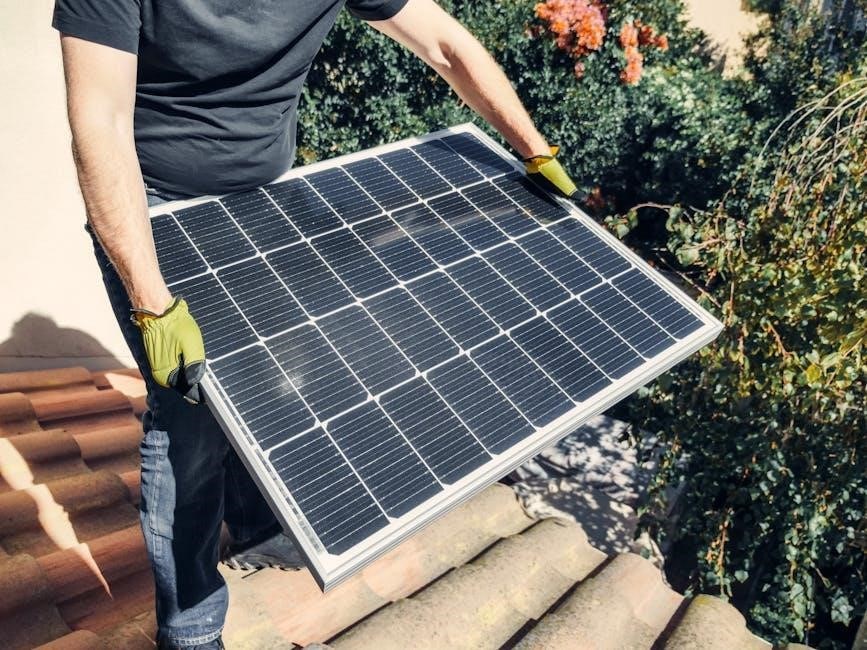
Connecting Solar Panels and Batteries
Connecting solar panels and batteries to the charge controller requires careful attention to detail. Ensure the panels are correctly configured in series or parallel to match the controller’s voltage and current ratings. Connect the battery terminals first‚ followed by the solar panel input‚ to avoid power surges. Use appropriately sized cables and verify polarity to prevent damage. Secure all connections firmly and double-check for tightness. Consider installing fuses or circuit breakers for added protection. Always follow the manual’s wiring diagram and safety guidelines. Proper connections ensure efficient energy transfer and protect both the controller and battery from potential damage or malfunction.
Configuring Settings for Optimal Performance
Configuring your solar charge controller correctly ensures maximum efficiency and system longevity. Start by setting the battery voltage to match your system (12V‚ 24V‚ or 48V). Adjust the maximum power point tracking (MPPT) settings if applicable‚ ensuring they align with your solar panel specifications. Set charging parameters like bulk‚ absorption‚ and float voltages according to the battery type (lead-acid‚ lithium‚ etc.). Enable low-voltage cutoff to protect the battery from over-discharge. Consult the manual for specific instructions‚ as settings vary by model. Use monitoring tools or apps to track performance and adjust settings for optimal energy harvesting and battery health. Proper configuration enhances overall system performance and reliability.
Monitoring and Maintenance Tips
Regularly monitor your solar charge controller’s status to ensure optimal performance. Check for error codes and clean dust from terminals to maintain efficiency. Perform annual inspections of connections and settings to prevent issues. Refer to the manual for specific maintenance recommendations tailored to your controller model and system requirements.
How to Monitor Your Solar Charge Controller
Monitoring your solar charge controller ensures optimal performance and prevents system issues. Check the display for voltage‚ current‚ and error codes regularly. Use the manual to understand each indicator and address any alarms promptly. For advanced models‚ utilize remote monitoring apps like Solax App to track performance and adjust settings remotely. Clean terminals and connections to avoid resistance issues. Log performance data to identify trends and potential faults early. Regular monitoring helps maintain efficiency‚ extends equipment life‚ and ensures your solar system operates safely and effectively.
Regular Maintenance for Longevity
Regular maintenance is crucial to ensure your solar charge controller operates efficiently and lasts longer. Clean the terminals and connections to prevent resistance and corrosion. Check for dust or debris on the controller and ensure proper ventilation to avoid overheating. Inspect cables for damage or wear and tighten connections periodically. Refer to the manual for specific maintenance intervals and procedures. Update firmware if applicable to enhance performance and security. Perform annual checks of voltage and current settings to ensure they align with your system requirements. By following these steps‚ you can maintain optimal performance‚ prevent faults‚ and extend the lifespan of your solar charge controller.
Common Issues and Solutions
Common issues with solar charge controllers include zero output‚ incorrect voltage settings‚ and overheating. Zero output often results from faulty inverters or controllers‚ while incorrect voltage settings can prevent charging. Overheating can occur due to poor ventilation or excessive current. To address these‚ ensure proper airflow‚ check connections‚ and refer to the manual for troubleshooting. Firmware updates may resolve software-related issues. Regularly inspect cables for damage and tighten connections to avoid resistance. Addressing these problems promptly can restore functionality and prevent system downtime. Always consult the manual for specific solutions tailored to your controller model.

Troubleshooting and Best Practices
Common issues include zero output‚ incorrect voltage settings‚ and overheating. Check connections‚ ensure proper ventilation‚ and refer to the manual for firmware updates and solutions.
Diagnosing Common Problems
Identifying issues with your solar charge controller starts with understanding error codes and system behavior. Common problems include zero output‚ incorrect voltage readings‚ and overheating. Check for loose connections‚ as these can disrupt power flow and cause malfunction. Ensure the controller is properly configured for your battery type and voltage. Refer to the manual for specific error code meanings and troubleshooting steps. Overcharging or undercharging can signal issues with voltage settings or sensor faults. Regularly inspect the unit for dust or damage‚ which can impede performance. Always follow the manufacturer’s guidelines for diagnostics to resolve issues efficiently and safely.
Best Practices for Solar Charge Controller Usage
Always follow the manufacturer’s manual for installation and configuration to ensure optimal performance. Monitor voltage and current settings regularly to prevent overcharging or undercharging. Keep the controller clean and cool‚ as overheating can reduce efficiency. Avoid connecting panels without a battery‚ as this can damage the controller. Use appropriate wiring sizes to minimize power loss. Regularly update firmware if applicable to access new features. Choose the right type (MPPT or PWM) based on your system’s needs. Test the controller with a small load before full deployment. Maintain proper ventilation and avoid exposing the unit to extreme weather conditions. This ensures longevity and reliable operation of your solar system.