
hunter fan installation manual
Get your Hunter Fan up and running smoothly with our comprehensive installation manual. Includes step-by-step instructions, troubleshooting tips, and expert advice for a perfect setup.
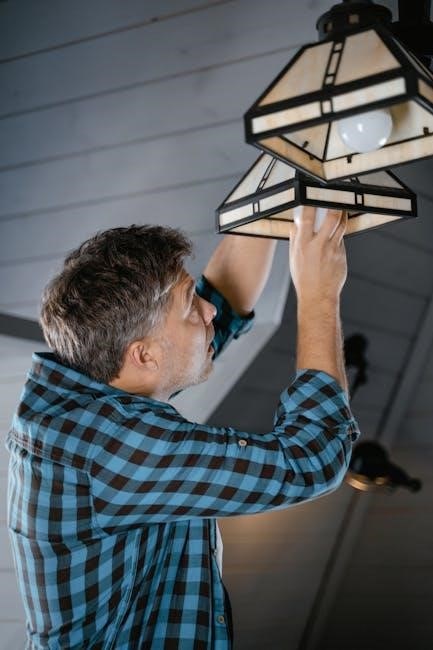
Installing a Hunter ceiling fan requires careful attention to the manual, ensuring safety and proper techniques. The process involves three installation types: low profile, standard, or angled. This guide provides comprehensive instructions for a successful setup, emphasizing electrical safety and secure mounting to guarantee optimal performance and longevity of your fan.
Importance of Following the Manual
Following the Hunter fan installation manual is crucial for ensuring safety, proper function, and longevity of the fan. The manual provides detailed instructions to avoid electrical hazards and structural issues. It outlines essential steps to secure the fan correctly, preventing potential damage or accidents. Adhering to the guidelines ensures the fan operates efficiently and quietly. Always read the manual thoroughly before starting the installation to avoid mistakes. Failure to follow instructions can lead to product damage or safety risks, making it vital to prioritize the manual’s guidance throughout the process.
Overview of Hunter Fan Installation Types
Hunter fans offer three installation types: Low Profile, Standard, and Angled. Low Profile is ideal for low ceilings, providing a sleek, flush-mount design. Standard installation suits average ceiling heights, ensuring optimal airflow and aesthetics. Angled installation is designed for slanted ceilings, maintaining stability and performance. Each type ensures proper fit and functionality, catering to various ceiling configurations; Correct installation type selection guarantees efficient operation and safety, as outlined in the manual.
Tools and Materials Needed for Installation
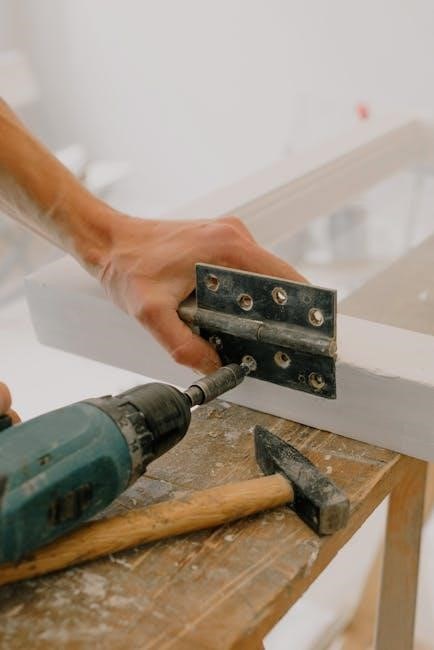
A screwdriver, pliers, ladder, and measuring tape are essential tools. Materials include screws, mounting brackets, and a retention cable for secure installation. Safety gear like gloves is recommended.
Essential Tools for the Job
A screwdriver, pliers, and a ladder are must-haves. A measuring tape ensures accurate mounting, while a voltage tester guarantees safe electrical work. Gloves and safety goggles protect during installation. Additionally, a drill with bits may be needed for securing brackets. Proper tools prevent errors and ensure a secure, professional-grade installation. Always refer to the manual for specific requirements, as some fans may need specialized tools for certain features or mounting types. Preparation is key to a smooth and safe process.
Required Materials for Mounting
Mounting brackets, screws, and a retention cable are essential for secure installation. Ensure the building structure can support double the fan’s weight. A canopy is needed to cover wires. Always verify the manual for specific hardware requirements. Proper materials ensure stability and prevent hazards. Use only manufacturer-recommended parts to guarantee safety and performance. Double-check all components before starting to avoid delays. Correct mounting materials are crucial for a reliable and lasting installation.
Safety Instructions
Always turn off power before starting installation. Use a ladder safely and ensure the fan is securely mounted. Handle blades with care to avoid injury. Follow all electrical safety precautions to prevent hazards. Proper installation ensures safe operation and longevity of your Hunter ceiling fan. Adhere to all safety guidelines provided in the manual for a secure setup.
Electrical Safety Precautions
Always disconnect power at the circuit breaker before starting work to prevent electrical shocks or injuries, which can cause serious injury or death. Never use damaged wires or overload circuits, as this can lead to fires or malfunctions. Ensure all electrical connections are properly secure and tight to avoid short circuits. Always follow the manual’s wiring instructions and consult a licensed electrician if unsure about any step for a safe and reliable setup and test.
Proper Mounting Techniques
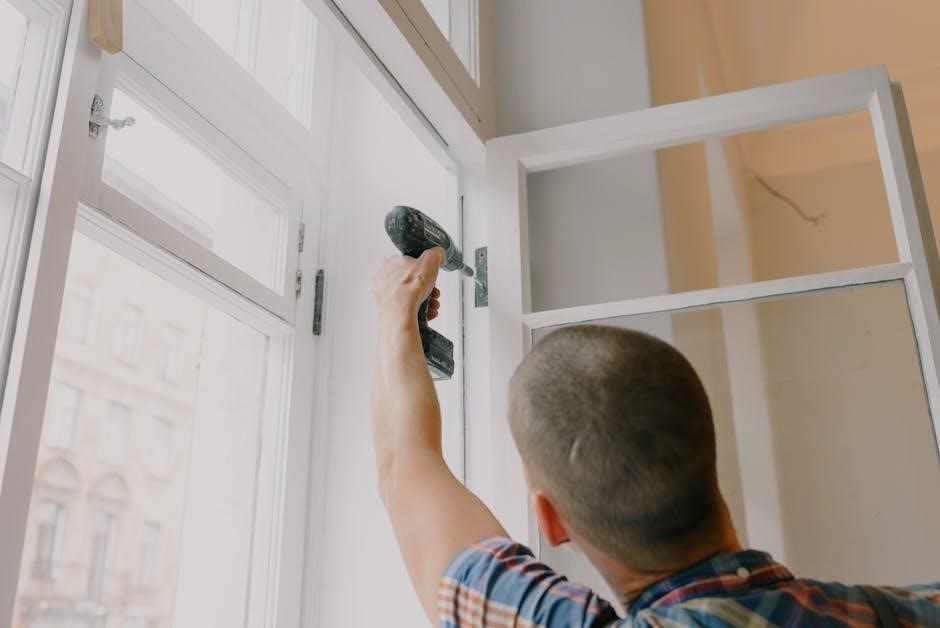
Always mount the fan directly from a building structure capable of supporting double the fan’s maximum weight to ensure stability. Use the provided retention cable for added safety and secure connections. Avoid mounting on structures that cannot handle the weight, as this could lead to accidents. Properly align the fan with the ceiling to maintain balance and prevent wobbling. Ensure all screws and hardware are tightly secured to avoid loose connections. This prevents potential hazards and ensures reliable operation over time.
Handling Fan Blades Safely
Always handle fan blades with care to avoid injury or damage. Wear gloves when touching blades to prevent cuts and ensure they are secure before operating the fan. Keep children away during installation to prevent accidents. Never touch spinning blades, as they can cause serious harm. Properly align and balance blades to avoid wobbling, which may lead to unsafe conditions. Ensure all blades are firmly attached and level before turning on the fan to guarantee safe and efficient operation.

Choosing the Right Installation Type
Choose from three installation types: Low Profile for tight spaces, Standard for most ceilings, and Angled for sloped surfaces, ensuring the perfect fit for your ceiling height and preference.
Low Profile Installation
Low Profile Installation is ideal for ceilings with limited space, such as attics or hallways. This method ensures the fan is mounted flush to the ceiling, minimizing clearance issues. It is perfect for lower ceiling heights while maintaining functionality and aesthetics. Ensure the ceiling structure can support the fan’s weight, and use the provided hardware to secure the mounting bracket. Always follow the manual for precise measurements and safety guidelines to avoid installation errors and potential hazards. Proper installation ensures optimal performance and longevity. Use a retention cable for added stability.
Standard Installation
Standard Installation is the most common method, suitable for ceilings with average height and structure. It involves mounting the fan using a downrod and standard bracket. Ensure the ceiling can support the fan’s weight and use the provided hardware to secure the bracket firmly. Always follow the manual for precise measurements and leveling to ensure stability and safety. Proper alignment and tightening of screws are crucial for optimal performance. This method is ideal for typical ceiling setups, offering both functionality and aesthetic appeal. Use a retention cable for added stability.
Angled Ceiling Installation
Angled Ceiling Installation is ideal for ceilings with slopes or slants, requiring specialized hardware for secure mounting. Use the provided angled bracket and ensure the ceiling structure can support the fan’s weight. Follow the manual’s guidelines for proper alignment and leveling. Tighten all screws firmly and install the retention cable for added stability. This method ensures the fan operates smoothly even on inclined surfaces, maintaining both functionality and safety. Always verify the ceiling’s structural integrity before proceeding with installation.
Preparing the Ceiling for Installation
Ensure the ceiling is structurally sound and can support the fan’s weight. Check for joists or beams to securely anchor the mounting bracket. Clear the area of obstructions.
Checking Ceiling Structure
Ensure the ceiling is sturdy enough to support the fan’s weight. Locate the joists or beams to secure the mounting bracket. Use a stud finder to identify the ceiling’s structural supports. Verify that the ceiling can hold at least double the fan’s weight. If installing on an angled ceiling, ensure the structure is stable. Check for any obstructions like electrical wiring or plumbing. If unsure, consult a professional to avoid potential damage or safety hazards. Proper ceiling preparation ensures a secure and stable installation.
Ensuring Proper Support
Ensure the ceiling structure can support the fan’s weight by securing the mounting bracket directly to joists or beams. Use a stud finder to locate ceiling supports. For angled ceilings, verify the structure’s stability. If the ceiling lacks sufficient support, install a sturdy brace or bracket. Always mount the fan directly from the building structure that can withstand double the maximum hanging weight. Install the Retention Cable as instructed to prevent the fan from swaying or falling, ensuring a safe and secure installation.

Electrical Connections
Disconnect power before starting to ensure safety. Connect the fan’s wiring to the household circuit, following the manual’s instructions. Verify all wires are securely attached to avoid electrical issues.
Disconnecting Power Safely
To ensure safety, always disconnect power to the circuit at the main electrical panel before starting installation. Verify the power is off using a voltage tester. If replacing an existing fixture, carefully remove it and cap all wires. Never rely solely on the wall switch to cut power. Double-check that no electricity is present to avoid shocks or injuries. This step is crucial for a secure and hazard-free installation process, as outlined in the manual. Always follow these precautions diligently.
Wiring the Fan
Wiring the fan requires careful attention to the manual’s instructions. Match the black (hot), white (neutral), and copper (ground) wires to the corresponding household wires. Use wire connectors to secure all connections tightly. Ensure the fan’s wiring harness is properly aligned with the ceiling’s electrical box. Double-check that all wires are correctly paired and insulated. If unsure, consult a licensed electrician. Proper wiring ensures safe and efficient operation of your Hunter ceiling fan, preventing potential hazards or malfunctions.
MOUNTING THE FAN
Ensure the fan is securely mounted directly to a sturdy building structure using the provided hardware and retention cable. This guarantees stability and safe operation.
Standard Ceiling Mount
For a standard ceiling mount, ensure the ceiling is flat and sturdy. Use the provided mounting bracket to secure the fan directly to the ceiling structure. Tighten all screws firmly to prevent wobbling. The fan must be mounted to a structure that can support double its weight. Install the retention cable as instructed to enhance stability. Ensure all electrical connections are secure before testing the fan. Proper alignment and leveling are crucial for smooth operation and to avoid noise or imbalance during use.
Angled Ceiling Mount
For angled ceilings, use a slope adapter to ensure proper fan installation. Secure the mounting bracket to the ceiling structure, ensuring it can support double the fan’s weight. Align the fan with the ceiling angle and tighten all screws firmly. Install the retention cable for added stability. Ensure the fan is level and balanced to prevent wobbling or noise. Follow the manual’s specific instructions for angled ceilings to achieve a secure and proper installation, guaranteeing optimal performance and safety.

Final Checks and Operation
After installation, turn on the power and test the fan and light operation. Ensure smooth running and proper airflow. Verify all functions meet expectations for safe, efficient performance.
Testing the Fan
After completing the installation, turn on the power and test the fan at each speed setting to ensure smooth operation. Check the light kit functionality if applicable. Verify that the fan blades are balanced and rotate evenly. Ensure proper airflow and quiet performance. If any issues arise, refer back to the manual or contact support. Testing confirms all components work together seamlessly, providing optimal comfort and efficiency in your space.
Ensuring Proper Functionality
After testing, verify that all features, such as speed settings and light operation, function correctly; Ensure the fan does not wobble and operates quietly. Check the manual for specific functionality checks tailored to your fan model. If any issues arise, consult the manual or contact customer support. Proper functionality ensures safety, efficiency, and comfort, making your Hunter fan a reliable addition to your home or office environment for years to come.